User Guide
Physical Locations
Asset Tracking provides valuable, high-level insight into the performance of a business’s physical spaces, including the office, storage, or warehouse. This is important because it enables you to identify important links in the way these sectors utilize assets so they can streamline business operations. Assign physical locations to your fixed assets and see a Google Maps view to get a quick, pictorial view of their locations.
Steps to create Physical Locations manually or in bulk:
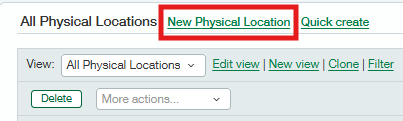
Navigate to Fixed Assets > Physical Locations and click on New Physical Location.
Provide the Physical Location Name, Address, and click Save.
OR
Populate the Physical Location import template and navigate to Fixed Assets > Physical Locations > Import.
Choose the CSV file and select the import mode as online if there are fewer than 5000 records in the file, otherwise, select offline. We recommend batching the file in a smaller size to help keep track of errors (if there are any).
Click Next.
Map the fields and click Import.
Assigning Physical Locations to an Asset
Please ensure a Physical Location has been created and ensure your user and the Fixed Assets’ web-services user (xmlgw-FA) have permissions to access the Physical Location object. To check, navigate from the top level to Company > Admin > Roles/Users and open the permissions for Physical Locations in the Fixed Assets Module.
Steps to add the Physical Location to an Asset:
Navigate to Fixed Assets > Assets Create a new Asset or modify an existing one to assign a Physical Location.
Select a Physical Location from the drop-down menu and click save.
OR
Create an AP Bill/PO/CC and navigate to the Entries’ section.
Select a GL Account/Item and provide the b along with the rest of the Asset information.
Post the transaction.