CIP
Before starting, make sure that you have set up a GL Account to be assigned as a CIP GL Account.
Steps to create CIPs manually:
Navigate to Fixed Assets > CIPs. Click on New CIP
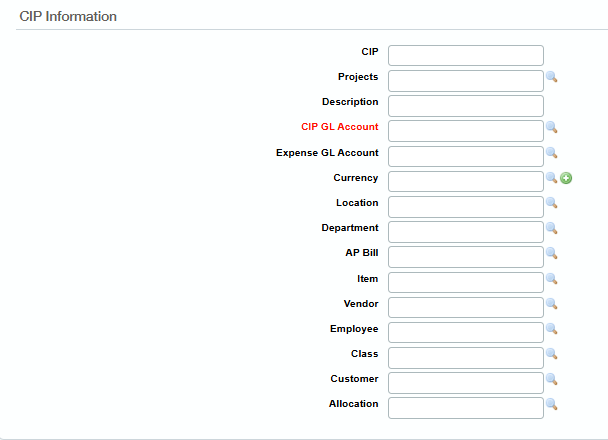
Provide a CIP, CIP GL Account, Expense GL Account (in case a CIP Item is deemed to be an expense and should not be capitalized), and other information as needed.
The CIP GL Account is a required field, but the same CIP GL Account can be assigned across several CIPs.
Click Save.
Steps to import CIPs in bulk:
Populate the CIP template and navigate to Fixed Assets > CIPs > Import.
Choose the .CSV file and set the import mode to online if there are fewer than 5000 records in the file, else select offline.
We recommend batching the file in a smaller size to more easily keep track of any errors that may occur.
Click Next.
Map the fields and click Import.


