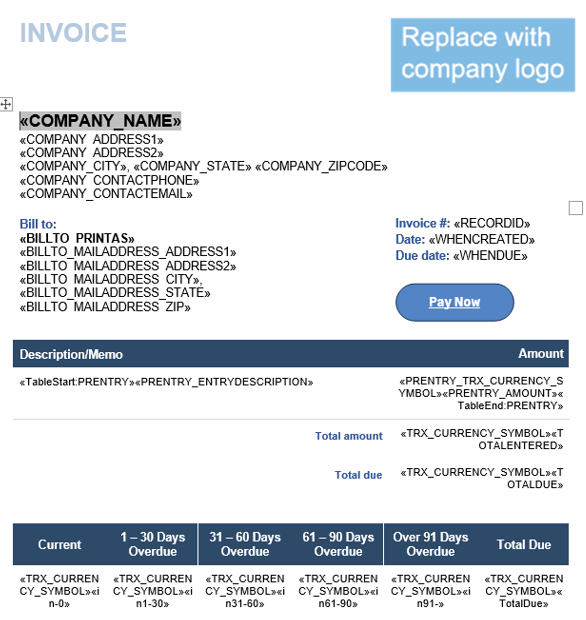
Pay Now Button Hyperlink
Next, we will add the Pay Now button to your printed doc template. The Pay Now button contains a hyperlink that sends the necessary field data to the payment provider, initiating the payment request. Depending on your Unipay setup, you will have a different button when integrating at the top level, entity level, or order entry in Intacct. To add the button, follow the steps below:
Navigate to the Pay Now Hyperlink word document via this link: Pay Now Hyperlinks
In the Pay Now Hyperlinks word document, select the correct button to add to our printed document template. If you have set up the Unipay integration to look at top-level transactions, you will want to utilize the top-level button. Similarly, you will use the entity button if you integrate with a specific entity. You will utilize the order entry button if your Unipay Payment account is set up for order entry. Right click the correct button and select Copy.
Now that we have the correct button copied, navigate to the downloaded printed doc template from earlier and paste the button on the page.
Next, we want to update the hyperlink embedded in the button on the page with the correct company ID using the button.
While on your printed document template, hold Alt+F9 (you may need to hold Alt+fn+F9 if your computer has the fn key enabled). This now reveals the hyperlink embedded within the button.
The hyperlink will look like the figure 1 on the right. You will need to expand the button to see the full hyperlink.
With the hyperlink now visible, we need to add your Sage Intacct company ID into the hyperlink. Within the hyperlink, highlight the portion {MERGEFIELD COMPANY_TITLE\*MERGEFIELD}
Type in your Sage Intacct company ID, replacing the highlighted portion. Ensure no spaces between your company ID and the rest of the hyperlink. In Figure 2 on the right is an example of what it should look like for Sage Intacct Company ID = Skyline_Tim
This step is only required if you’re setting this button up for the UAT version of the Unipay integration. We need to update the URL within the hyperlink.
To do this, you will want to highlight the following section in figure 3:
https://unipay-eu.sageintacctmpp.com
With the above highlighted, replace it with:
https://uat-unipay-eu.sageintacctmpp.com
Figure 3 on the right is an example of what the hyperlink should look like for Skyline_Tim, which is an Intacct sandbox being set up for the Unipay UAT site.
With the hyperlink updated, you can click Alt+F9 or Alt+fn+F9 again, which will hide the hyperlink and reveal the Pay Now button text again.
You can now resize the button, change the color, and adjust the button's location.
Once editing is done, save this document, ensuring not to override your master version. The document template is now ready to be put back into Sage Intacct.
Figure 1
Figure 2
Figure 3


